
 打赏
打赏
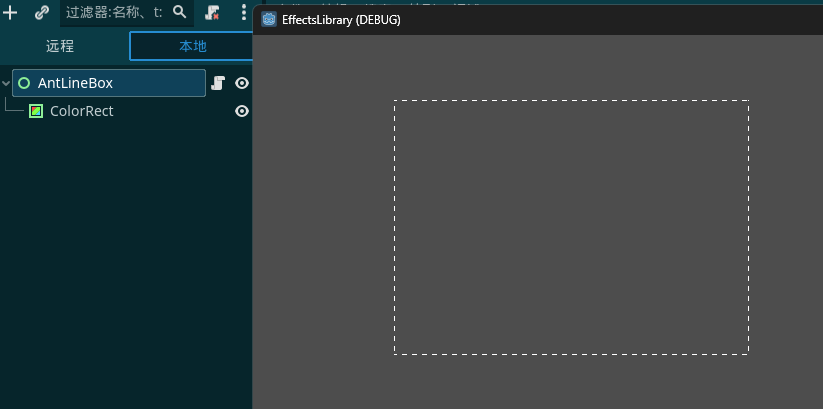
鼠标拖动画蚂蚁框
extends Control

@onready var color_rect = $ColorRect
@onready var ant_line_box: Control = $"."


var is_pressed = false	# 鼠标是否按下
var pressed_mouse_pos = Vector2.ZERO  # 鼠标按下时的位置

func _ready() -> void:
	ant_line_box.connect("gui_input",_on_AntLineBox_gui_input)

func _on_AntLineBox_gui_input(event):
	if event is InputEventMouseButton:
		self.is_pressed = event.pressed
		self.pressed_mouse_pos = get_global_mouse_position()
	if event is InputEventMouseMotion:
		if self.is_pressed:
			var mouse_pos = get_global_mouse_position()
			var mouse_offset = mouse_pos - self.pressed_mouse_pos
			var pos = Vector2.ZERO
			pos = self.pressed_mouse_pos
			if mouse_offset.x < 0:
				pos.x = mouse_pos.x
			if mouse_offset.y < 0:
				pos.y = mouse_pos.y

			color_rect.set_position(pos)
			color_rect.set_size(mouse_offset.abs())
			color_rect.material.set_shader_parameter("pos", pos)
			color_rect.material.set_shader_parameter("size", mouse_offset.abs())
shader绘制蚂蚁线
shader_type canvas_item;
//绘制蚂蚁线框
uniform vec2 pos;
uniform vec2 size;
uniform float edge_size = 1.0;
uniform vec2 edge_interval = vec2(10.0,5.0);//边缘间隔

uniform float speed = 10.0;

varying vec2 world_pos;

void vertex(){
	world_pos = (MODEL_MATRIX * vec4(VERTEX, 0.0, 1.0)).xy;
}

void fragment(){
	COLOR.a = 0.0;
	//FRAGCOORD左下角坐标world_pos左上角坐标
	if(	world_pos.x > pos.x && world_pos.x < pos.x + edge_size ||
		world_pos.x > pos.x + size.x - edge_size && world_pos.x < pos.x + size.x){
		if(mod(world_pos.y+speed*TIME,edge_interval.x)>edge_interval.y){
			COLOR.a = 1.0;
		}
	}
	if(	world_pos.y > pos.y && world_pos.y < pos.y + edge_size ||
		world_pos.y > pos.y + size.y - edge_size && world_pos.y < pos.y + size.y){
		if(mod(world_pos.x-speed*TIME,edge_interval.x)>edge_interval.y){
			COLOR.a = 1.0;
		}
	}
}
使用Line2D节点完成多边形蚂蚁框
shader_type canvas_item;

uniform float speed = 1.0;

void fragment() {
	vec2 moving_uv = vec2(UV.x-(TIME*speed), UV.y);
	moving_uv = fract(moving_uv);
	vec4 in_tex = texture(TEXTURE, moving_uv);
	COLOR = vec4(COLOR.r,COLOR.g,COLOR.b,in_tex.a);
}
设置: Fill -> Texture Mode = Tile
Fill -> Texture 拖动一个有变化的图片素材